Getting started
Yue is a library for creating native GUI programs, by using its V8 bindings you can easily build a desktop app with Node.js.
Installing
The V8 bindings of Yue exists as the gui npm module, installing Yue in Node.js
is as easy as:
npm i gui
But note that gui is a native module, you have to reinstall it whenever you
change platforms.
Using Yue
Like other Node.js modules, Yue can be used with a simple require('gui'), but
depending on the runtime you use, there are some extra work to make GUI message
loop run.
Node.js
Because Node.js was not designed for desktop apps, it is using libuv event loop that is not compatible with GUI message loops.
In order to make GUI work in Node.js, you have to take over the control of event
loop by using the MessageLoop API, which would run native GUI message loop
while still handling libuv events:
const gui = require('gui')

if (!process.versions.yode && !process.versions.electron) {
  gui.MessageLoop.run()  // block until gui.MessageLoop.quit() is called
  process.exit(0)
}
To quit the message loop, you can call the MessageLoop.quit() API, which
would break the blocking MessageLoop.run() call and continue the script,
usually you should exit the process after that.
Note that this hack does not work perfectly, you should never use it in production.
Yode
To solve the problem of incompatible event loop, you can use the
Yode project as a replacement of Node.js. Yode
is a fork of Node.js that replaces libuv event loop with native GUI message
loops, so there would be no need to use the MessageLoop.run() hack.
Unlike Node.js which would quit the process when there is no work to do, the
processes of Yode would keep running forever, until you call the
MessageLoop.quit() API to quit current message loop.
After quitting the GUI message loop, the libuv event loop is still running, and the process will exit when all pending Node.js requests have finished.
The code example above also showed how to make the script run under both Yode and Node.js.
Electron
When using Yue in Electron, there is no need to worry about message loop in the main process, as Electron uses GUI message loop there. But it is not recommended to use Yue in renderer process.
Also on Linux, due to GTK+ only getting initialized after the ready event
of app gets emitted, you should only use Yue by then.
Why other GUI toolkit bindings do not work
Having read so far, you might have understood why people were not using Node.js for native desktop apps. This was because the design of Node.js natually does not allow integrating the GUI message loops of native toolkits.
The only exeptions here are GTK+ and other X11 based toolkits, because internally they use file descriptor based GUI message loops and can be iterated with libuv.
So even though it is not hard to write V8 bindings for Cocoa or Qt, it is
impossible to run their message loops together with the event loop of Node.js.
The most common trick of keep iterating events of GUI message loops, results in
high CPU usage. While the trick used by Yue's MessageLoop API to replace the
event loop, has various problems with the events queue of Node.js.
Luckily with Yode the problem with message loop has been solved cleanly, even if you are not interested in Yue, it is still possible to use Win32 and Cocoa bindings in Yode.
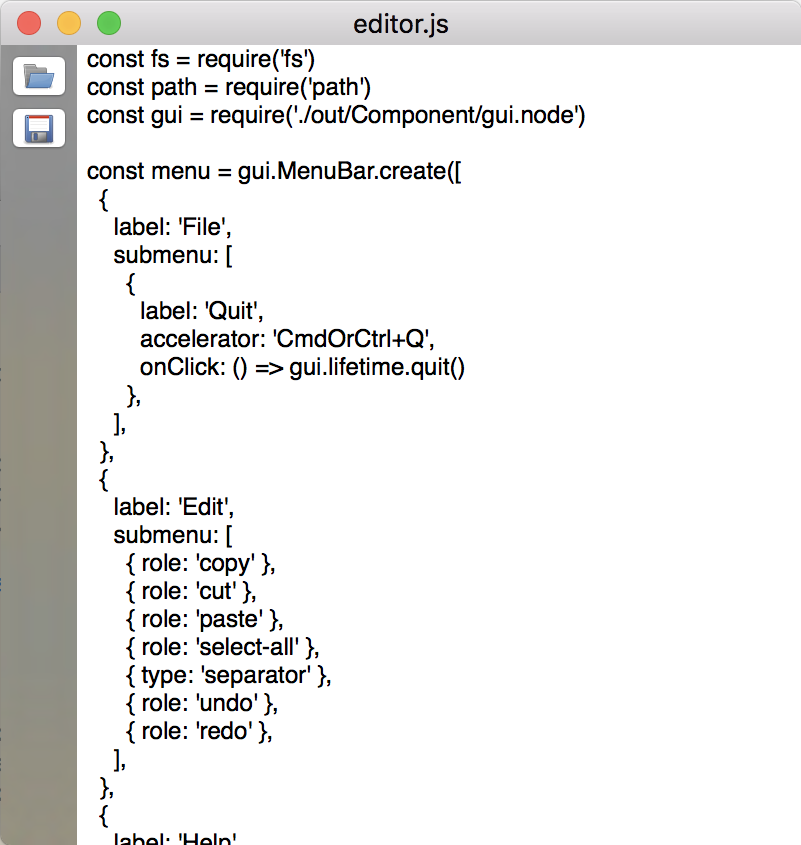
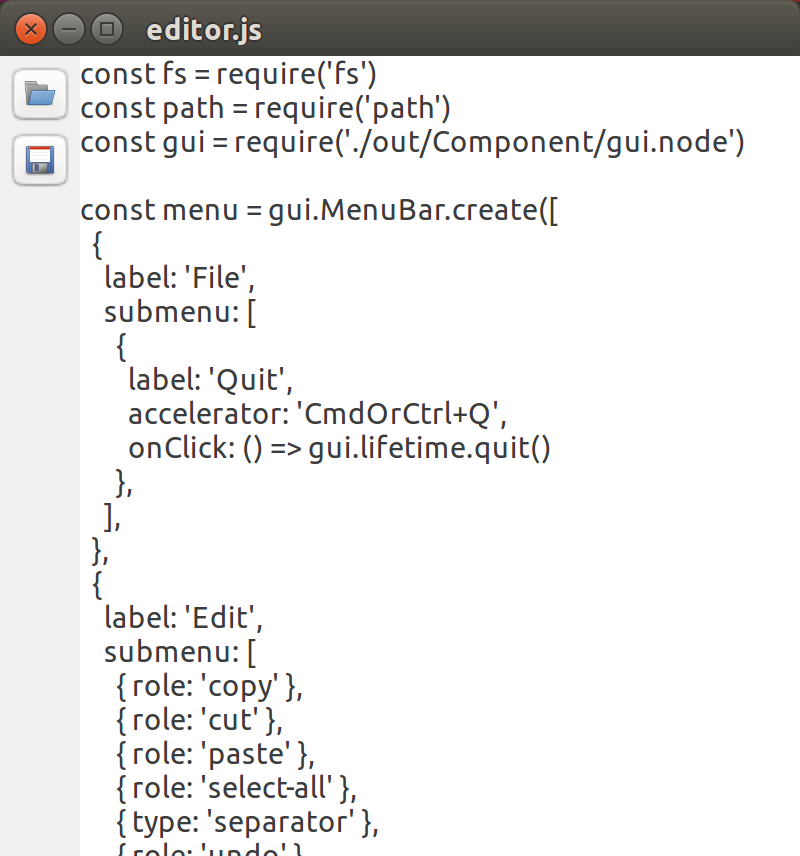
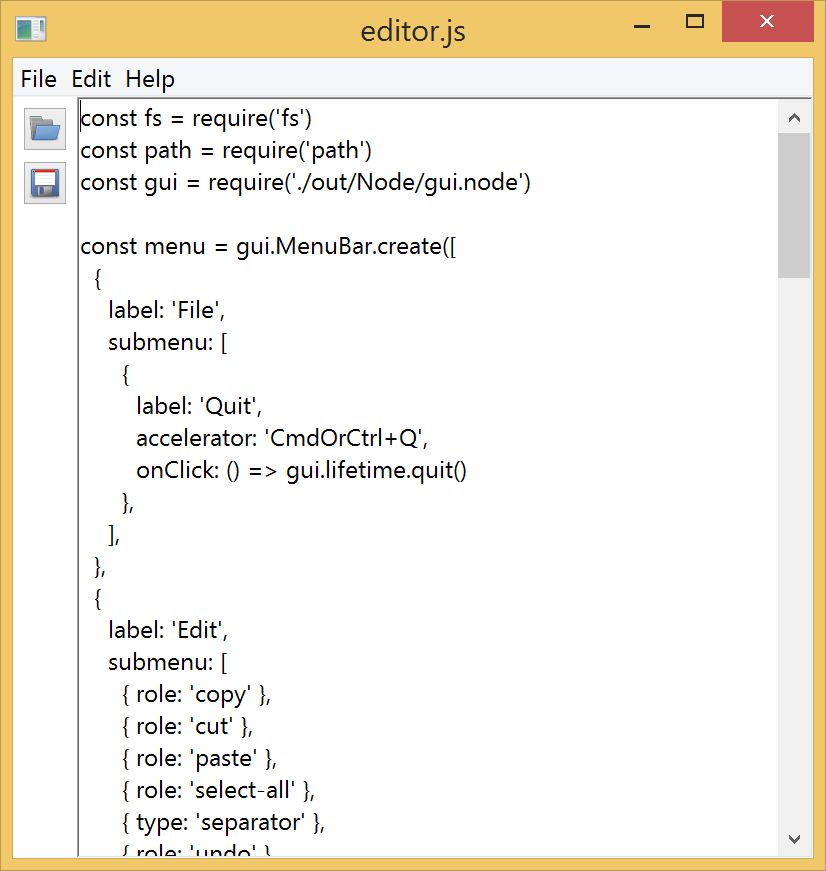
Example: Text editor
This example shows how to create windows and views in Yue, and how to manage their layout.
Full code of this example can be found at https://github.com/yue/yue-app-samples/tree/master/editor.
| macOS | Linux | Windows |
|---|---|---|
 |
 |
 |
Creating a window
Each creatable type in Yue has a create class method can be used to create
instances of the type, constructors are not used because JavaScript does not
support function overloading while certain types can have multiple createXXX
class methods.
const win = gui.Window.create({})
MenuBar
With gui.MenuBar and gui.MenuItem APIs you can create menu bars, their
create methods also accept object descriptors to make the APIs easier to use.
By adding a menu bar, you can bind keyboard shortcuts to actions, and for some very common actions there are also stock items can be used.
Note that macOS differs from other platforms that it has one application menu instead of window menu bars, so your code should be aware of this difference.
const menu = gui.MenuBar.create([
  {
    label: 'File',
    submenu: [
      {
        label: 'Quit',
        accelerator: 'CmdOrCtrl+Q',
        onClick: () => gui.MessageLoop.quit()
      },
    ],
  },
  {
    label: 'Edit',
    submenu: [
      { role: 'copy' },
      { role: 'cut' },
      { role: 'paste' },
      { role: 'select-all' },
      { type: 'separator' },
      { role: 'undo' },
      { role: 'redo' },
    ],
  },
])

if (process.platform == 'darwin')
  gui.app.setApplicationMenu(menu)
else
  win.setMenuBar(menu)
Content view
Each window in Yue has one content view, which fills the client area of the window.
const edit = gui.TextEdit.create()
win.setContentView(edit)
Container and layout
The Container view can have multiple views and it can automatically layout
the child views according to the flexbox style properties assigned.
Following code creates a vertical sidebar on the left of the text edit view, the sidebar stretches vertically and takes fixed width, while the text edit view would fill all remaining space.
// The content view has its children arranged horizontally.
const contentView = gui.Container.create()
contentView.setStyle({flexDirection: 'row'})
win.setContentView(contentView)

// The sidebar is a child of content view and has 5px paddings.
const sidebar = gui.Container.create()
sidebar.setStyle({padding: 5})
contentView.addChildView(sidebar)

// Make the sidebar have a fixed width which is enough to show all the buttons.
sidebar.setStyle({width: sidebar.getPreferredSize().width})

// The text edit view would take all remaining spaces.
const edit = gui.TextEdit.create()
edit.setStyle({flex: 1})
contentView.addChildView(edit)
Vibrant view
On macOS views can be semi-transparent to show contents under the window, our
example makes use of this by using the Vibrant view for sidebar.
let sidebar
if (process.platform == 'darwin') {
  sidebar = gui.Vibrant.create()
  sidebar.setBlendingMode('behind-window')
  sidebar.setMaterial('dark')
} else {
  sidebar = gui.Container.create()
}
Buttons and HiDPI images
Following code creates image buttons without title, the @2x suffix in the
filenames of images means they have a scale factor of 2, and the images would
show without blur in HiDPI environments.
// The buttons in the sidebar, they shows images instead of text.
const open = gui.Button.create('')
open.setImage(gui.Image.createFromPath(__dirname + '/eopen@2x.png'))
open.setStyle({marginBottom: 5})
sidebar.addChildView(open)
const save = gui.Button.create('')
save.setImage(gui.Image.createFromPath(__dirname + '/esave@2x.png'))
sidebar.addChildView(save)
Dialogs
With FileOpenDialog and FileSaveDialog APIs, you can show system dialogs to
get inputs from users.
save.onClick = () => {
  const dialog = gui.FileSaveDialog.create()
  dialog.setFolder(folder)
  dialog.setFilename(filename)
  if (dialog.runForWindow(win)) {
    fs.writeFileSync(String(dialog.getResult()), edit.getText())
  }
}
Showing window
The events of types exist as properties of instances, to add a listener to an
event, you can call the connect() method of the event, or simply do an
assignment.
// Quit when window is closed.
win.onClose = () => gui.MessageLoop.quit()
// The size of content view.
win.setContentSize({width: 400, height: 400})
// Put the window in the center of screen.
win.center()
// Show and activate the window.
win.activate()
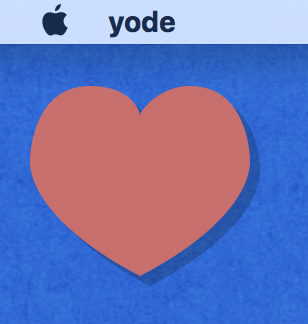
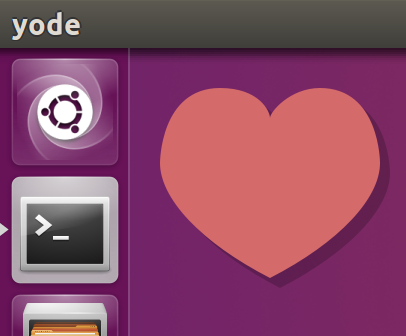
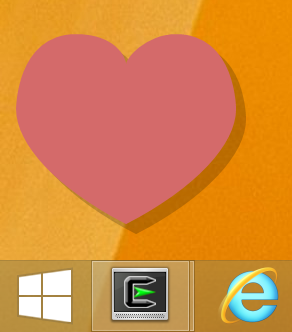
Example: Float heart
This example shows how to use frameless window and how to draw things.
Full code of this example can be found at https://github.com/yue/yue-app-samples/tree/master/floating_heart.
| macOS | Linux | Windows |
|---|---|---|
 |
 |
 |
Frameless and transparent window
By using the frame and transparent options, you can control whether a window
would have the native chrome, and whether the window is transparent.
const win = gui.Window.create({frame: false, transparent: true})
win.setAlwaysOnTop(true)
Dragging window
Views in Yue can be made draggable, so dragging the view would also drag the
window. In this example we make the whole window draggable.
const contentview = gui.Container.create()
contentview.setMouseDownCanMoveWindow(true)
win.setContentView(contentview)
Drawable area
While the Container view is mostly used for layout, you can also use it as
drawable area by using the onDraw event.
In the onDraw event an instance of Painter is passed, which can be used to
draw things directly on the view.
contentview.onDraw = (self, painter) => {
  // Draw the shadow of heart.
  painter.setFillColor('#3000')
  drawHeart(painter)
  // Draw heart.
  painter.translate({x: -5, y: -5})
  painter.setFillColor('#D46A6A')
  drawHeart(painter)
}
Painter
The Painter class represents native graphics context, it provides methods for
drawing. This example uses paths and bezier curves to draw a heart.
function drawHeart(painter) {
  painter.beginPath()
  painter.moveTo({x: 75, y: 40})
  painter.bezierCurveTo({x: 75, y: 37}, {x: 70, y: 25}, {x: 50, y: 25})
  painter.bezierCurveTo({x: 20, y: 25}, {x: 20, y: 62.5}, {x: 20, y: 62.5})
  painter.bezierCurveTo({x: 20, y: 80}, {x: 40, y: 102}, {x: 75, y: 120})
  painter.bezierCurveTo({x: 110, y: 102}, {x: 130, y: 80}, {x: 130, y: 62.5})
  painter.bezierCurveTo({x: 130, y: 62.5}, {x: 130, y: 25}, {x: 100, y: 25})
  painter.bezierCurveTo({x: 85, y: 25}, {x: 75, y: 37}, {x: 75, y: 40})
  painter.fill()
}